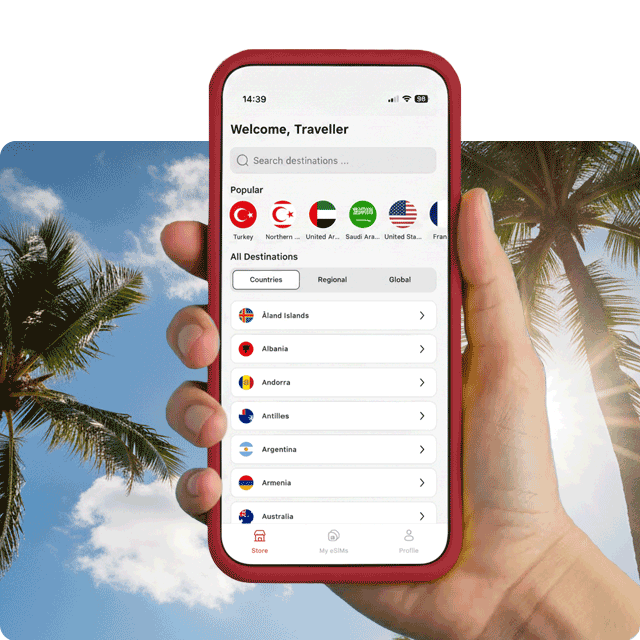
How to install and activate eSIM on iPhone or iPad

• Put a digital SIM on your iPhone or iPad
• Get instant mobile data in your destination

Install eSIM on your iPhone for vacation

When do I install and activate my eSIM on my iPhone?

We advise you to install your eSIM when you have a stable and strong Wi-Fi or data connection to prevent any installation errors.

If you have purchased an eSIM data package for your international journey, it is recommended to install your eSIM before you embark on your trip. This way, you can verify its correct installation while you are still at home.

However, it is also possible to install your eSIM while you are already traveling internationally if you wish to start using eSIM data immediately.
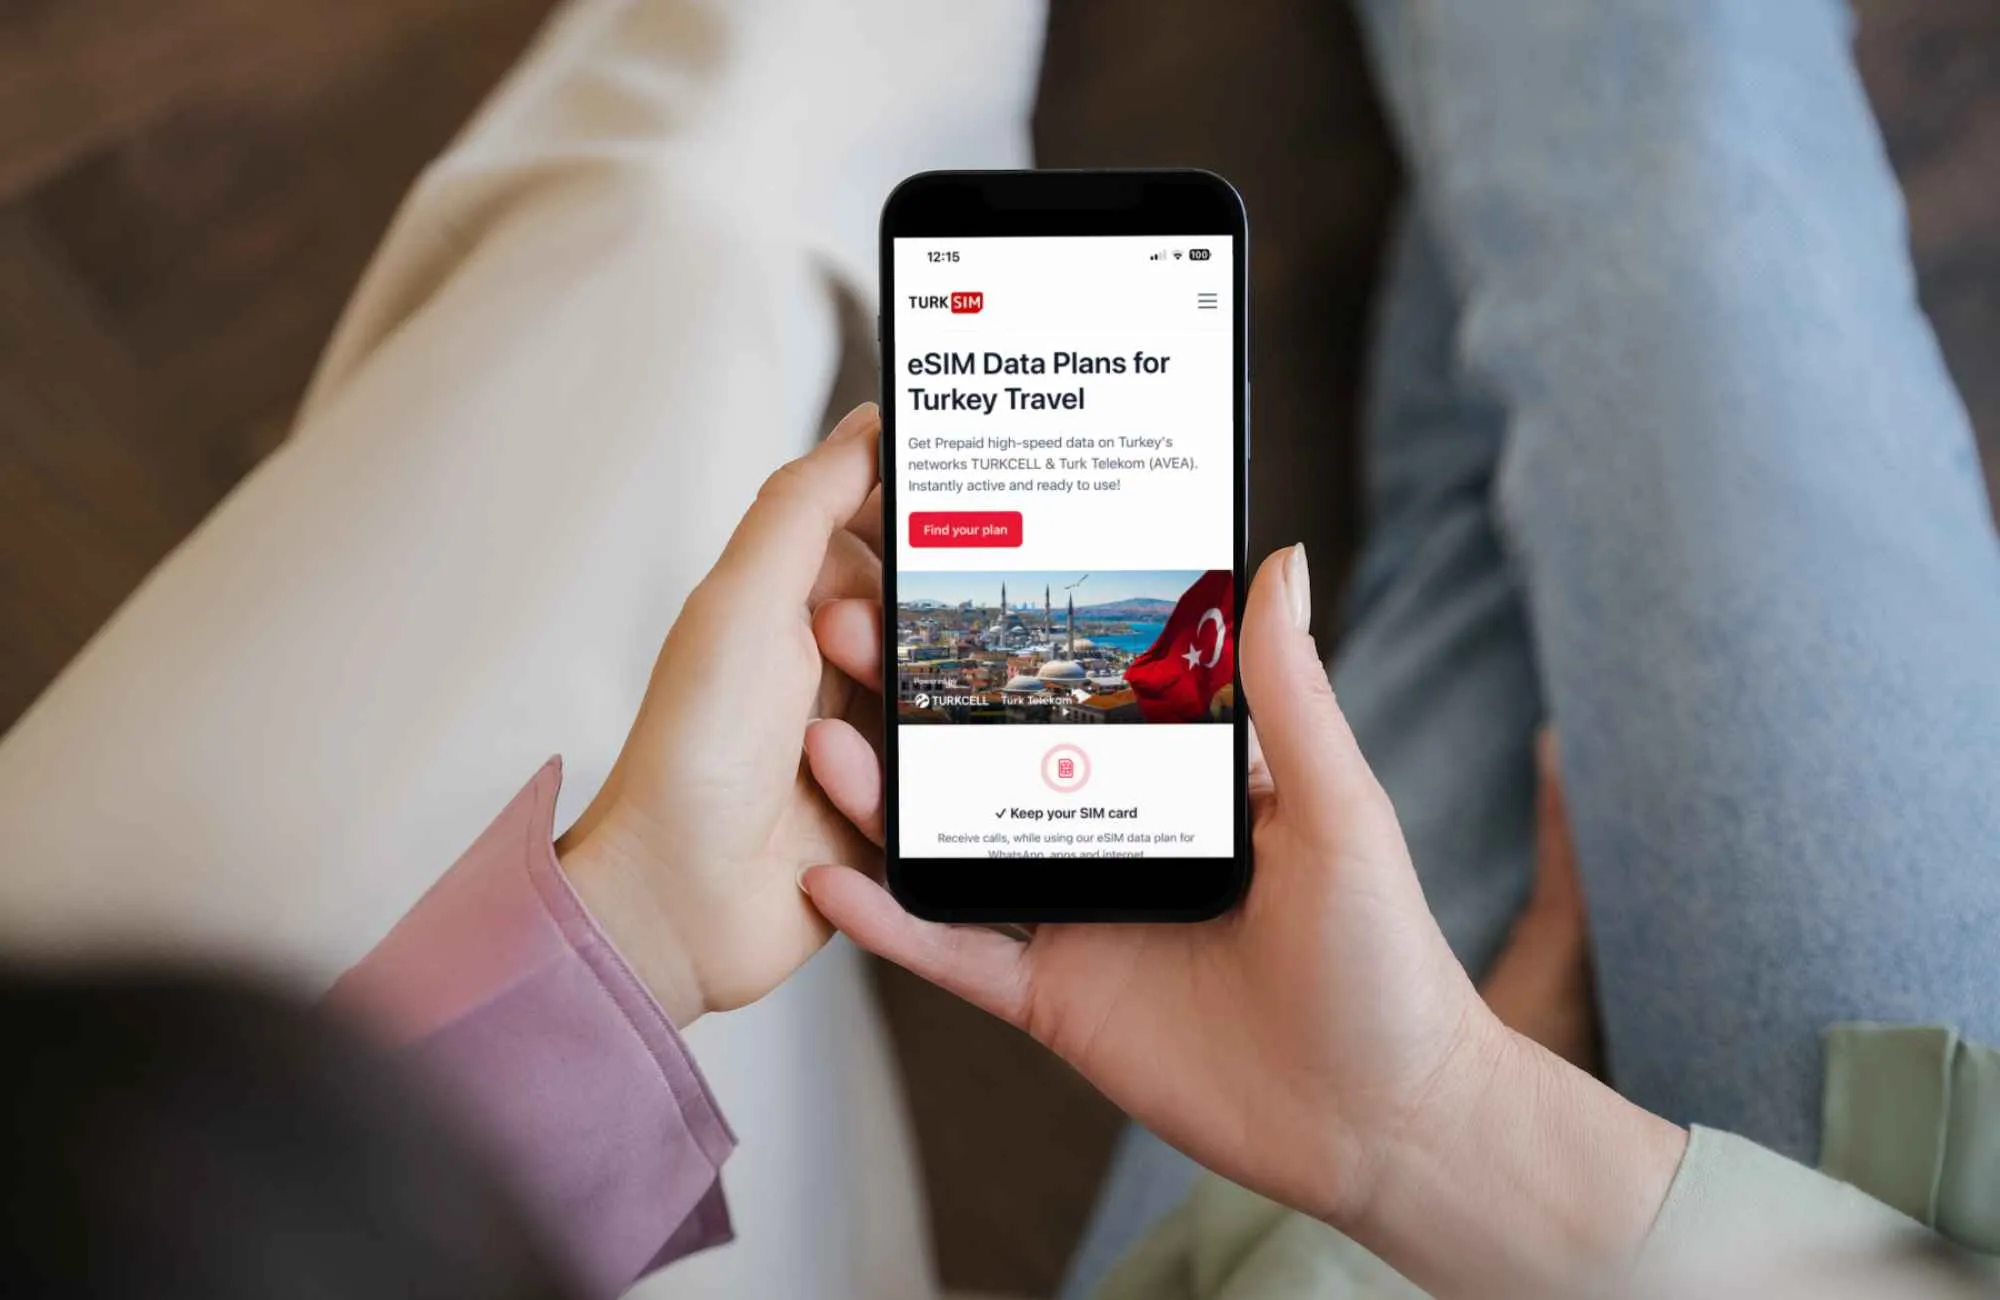
When do I install and activate my eSIM on my iPhone?
iPhone eSIM installation - Does data plan activate immediately?

Does my data package activate immediately upon eSIM installation on my iPhone?

If you're using an Android device like a Google Pixel or Samsung, you can install an eSIM at any time. Your data package will be activated once you've completed the necessary steps for eSIM activation.

If you're using an iPhone or iPad with the latest iOS version, your Apple eSIM data package may be automatically activated as soon as you complete the installation and are in the right country or region for your eSIM.

How to install and activate eSIM on your iPhone

Once you’ve purchased a eSIM data package from us, you need to install and activate your eSIM (digital SIM card) on your iPhone device so it’s there when you need it.
Step 1

Go to Settings on your device

• Go to Settings on your device and Tap Mobile Data / Cellular.
• Tap Add eSIM and Tap Use QR Code.
• Scan your eSIM QR code using either the printed QR code or another device displaying the QR code.

If you’re using an iPhone with iOS 17.4 or later and you receive a QR code from us in an email, or from our webpage, touch and hold the QR code, then tap Add eSIM.
Step 3

eSIM Label

You have the option to modify the eSIM Label (the name of the eSIM) instead of using the default name.

If you would like to modify the eSIM label before moving to the next step:

• Tap > (the right hand arrow) and then either choose one of the preset label's or type the name TurkSIM in the Custom Label box.
• Tap Done and Tap Continue.
Step 4

Choose your Default Line

• Set Default Line always to Primary and Tap Continue.
• Set iMessage & FaceTime always to Primary and Tap Continue.
• Set Mobile Data to your previously chosen eSIM label.

*Keep “Allow Mobile Data Switching” turned off to avoid additional roaming charges.

Your iPhone could activate the plan immediately. To avoid using data before your trip, switch off roaming on all your mobile data plans. We recommend activating the eSIM only at the destination.

Well done!

Your eSIM is installed and ready for activation.
Please activate your eSIM only upon arrival at your destination.
Step 5

Activate and start using your eSIM data

• Go to Settings and Tap Mobile Data / Cellular Data.
• Select desired eSIM
• Scroll down until you find Data Roaming and turn it on.

Important:
• Data roaming MUST be ENABLED on the eSIM for it to work properly!
• Please make sure to select our eSIM as the source under Mobile Data.

Turn off data roaming on your primary SIM to avoid unexpected high bills from your primary network provider.
Support

Need help? We're always here!

If you have completed the steps above, but your eSIM did not install correctly, please contact our Technical Support via email (support@turksim.com).

Our Support team is available if you have questions about any part of the iPhone eSIM activation process.
Step 4

eSIM Label

You have the option to modify the eSIM Label (the name of the eSIM) instead of using the default name.

If you would like to modify the eSIM label before moving to the next step:

• Tap > (the right hand arrow) and then either choose one of the preset label's or type the name TurkSIM in the Custom Label box.
• Tap Done and Tap Continue.
Step 5

Choose your Default Line

• Set Default Line always to Primary and Tap Continue.
• Set iMessage & FaceTime always to Primary and Tap Continue.
• Set Mobile Data to your previously chosen eSIM label.

*Keep “Allow Mobile Data Switching” turned off to avoid additional roaming charges.

Your iPhone could activate the plan immediately. To avoid using data before your trip, switch off roaming on all your mobile data plans. We recommend activating the eSIM only at the destination.

Well done!

Your eSIM is installed and ready for activation.
Please activate your eSIM only upon arrival at your destination.
Step 5

Activate and start using your eSIM data

• Go to Settings and Tap Mobile Data / Cellular Data.
• Select desired eSIM
• Scroll down until you find Data Roaming and turn it on.

Important:
• Data roaming MUST be ENABLED on the eSIM for it to work properly!
• Please make sure to select our eSIM as the source under Mobile Data.

Turn off data roaming on your primary SIM to avoid unexpected high bills from your primary network provider.
Support

Need help? We're always here!

If you have completed the steps above, but your eSIM did not install correctly, please contact our Technical Support via email (support@turksim.com).

Our Support team is available if you have questions about any part of the iPhone eSIM activation process.
Some tracking technologies are important for the correct functioning of our website and are always on. By clicking “Accept” you are also directing us to use optional tracking technologies. You can learn more about those technologies by clicking “Preferences.”